All Tutorials
Next
Motion Graphics

The Ultimate Guide to Orange Juice Commercial Animation in After Effects

Motion Graphics Tutorial

Learn how to build a dynamic, broadcast-ready orange juice commercial inside After Effects using native tools—no external plugins required.

Scribble Text Reveal
CC Bubbles
Staggered Keyframes
Wiggle Physics
✏️

The Scribble Text Engine

Instead of a standard opacity fade, we want the text to draw itself on organically.

  • Create Text Masks

    Type your title (e.g., "ORANGE ENERGY"). Right-click the layer and choose Create Masks from Text, then delete the original text layer.

  • Apply Scribble Effect

    Apply the After Effects Scribble effect to the masks. Set it to "All Masks", change the Stroke Width to 1.7, and increase the Wiggle/sec to 7 for a hand-drawn feel.

  • Animate the Reveal

    To reveal the text, keyframe the End property inside the Scribble effect from 0% at the start to 100% at the 1-second mark.

🫧

Background & CC Bubbles

A static background is boring. To add life and motion, we use the native CC Bubbles effect to create an underwater/refreshing vibe.

  • The Radial Gradient

    Create a solid layer. Apply a Radial Gradient (Ramp) from a bright orange center to a slightly darker orange edge.

  • Configure CC Bubbles

    Create a new White Solid. Apply CC Bubbles. Crank the Bubble Amount up to 957. Drop the Speed to 0.5, set Amplitude to 230, and Frequency to 2.

  • Blend it In

    The pure white bubbles will be too intense. Simply lower the layer Opacity (press T) to 50% so they blend subtly into the orange gradient.

The Core Animation

Slices & The Product Reveal

The magic of this commercial lies in layering dozens of orange slices, staggering their animations, and finishing with a dramatic product reveal.

1. The Infinite Spin

We create one master "Orange Slice" composition (500x500). Inside, we animate its Scale from 0% to 24% with a nice F9 (Easy Ease) pop-up curve. But we also want the slice to rotate endlessly.

Instead of manually keyframing rotation, we use a simple expression.

Infinite Rotation
time * 50

The Stagger: We drop this slice into the Main Comp and duplicate it dozens of times to cover the screen. We then manually offset each layer in the timeline by a few frames so they pop up one by one in a cascading wave.

2. The Dynamic Product Pop

At the 4-second mark, we keyframe the Position of every single orange slice to move outwards, clearing a path in the center of the frame.

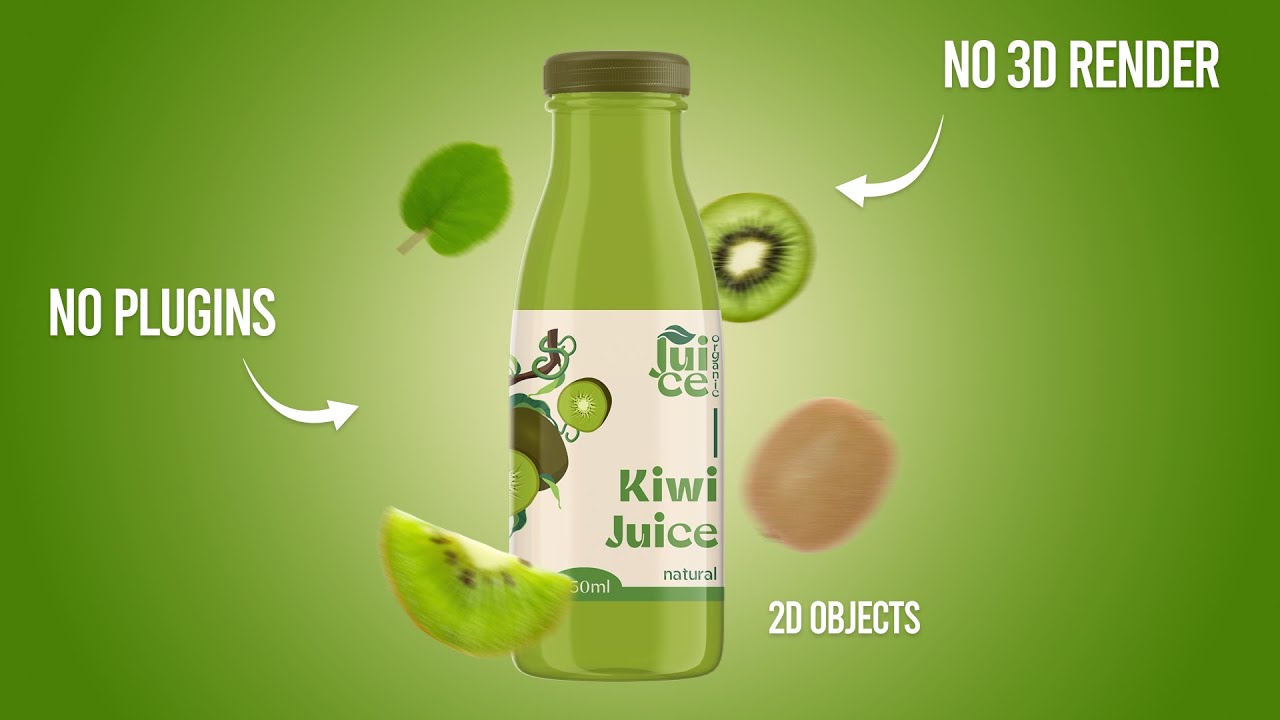
We drop the Juice Bottle PNG into the timeline (placing it under the slices) and animate its scale from 0% to 52%. To give the bottle an organic, floating feel, we apply a Wiggle expression to its Position property.

Floating Physics
wiggle(3, 11)

Pro Tip: To unify the scene, apply a Layer Style (Outer Glow -> Multiply -> Light Gray) to an orange slice, copy it, and paste it onto the Juice Bottle and all other slices for consistent drop shadows.

Project Assets

Download the original source files (Orange slices and Juice bottle) to follow along with the tutorial.

Download Source Files (.zip)
Infizy Academy

Elevate Your Motion Design

Join our community to master broadcast-level animations, advanced After Effects workflows, and AI integration techniques.

Subscribe to Channel

Discussion (0)

Leave a Reply

Verifying you are human...
Cloudflare security check in progress
Cloudflare

No comments yet. Be the first to start the discussion!