All Tutorials
Previous Next
Motion Graphics

How to Create a 3D Phone Commercial in After Effects Without Plugins

3D IN 2D SOFTWARE
NO PLUGINS
Z-SPACE STACKING
INDEX EXPRESSION
THE Z-SPACE ILLUSION

Faking 3D with 2D PNGs

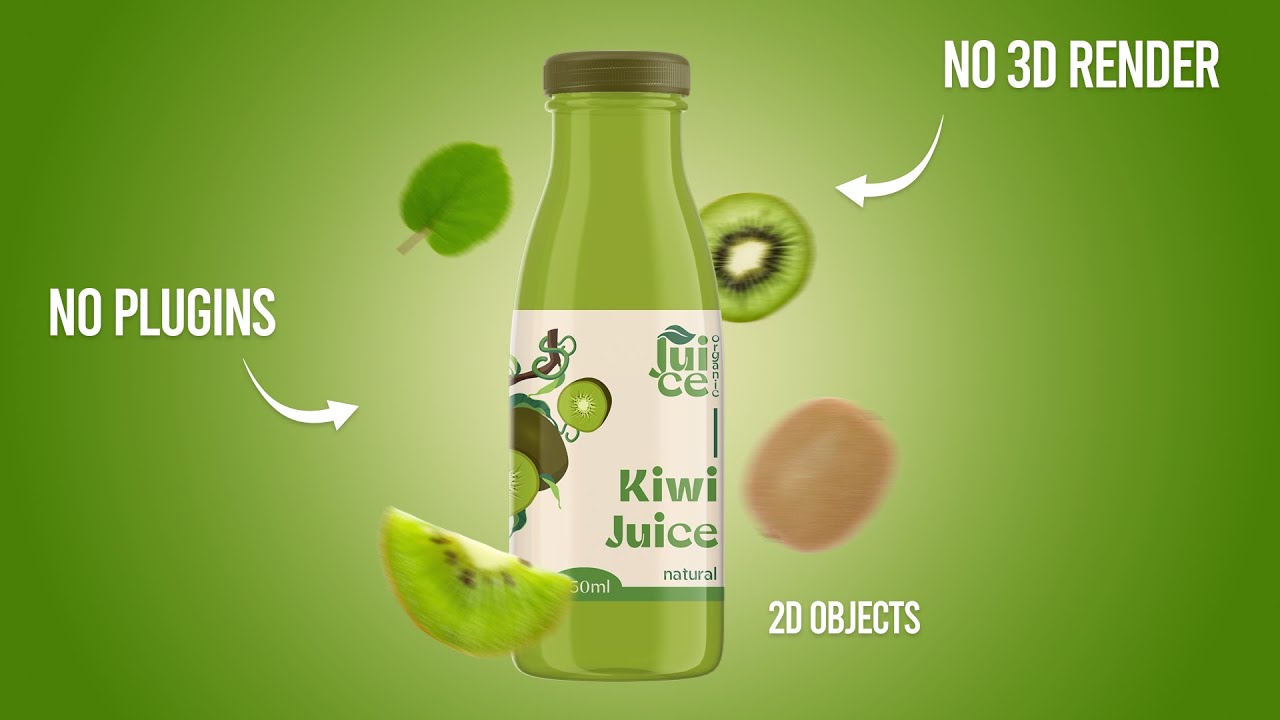
Creating a 3D phone model usually requires plugins like Element 3D or software like Blender. However, you can create a highly convincing 3D phone entirely natively in After Effects using flat 2D PNG files and a simple position expression.

By stacking multiple copies of the phone's back panel slightly offset in Z-space, we can generate real geometric depth that responds perfectly to an active camera.

  • 1. Scale & Precompose

    Import the back portion of the phone PNG. Scale it down to roughly 30%. Right-click and Precompose it, ensuring you select "Move all attributes into the new composition."

  • 2. The Index Expression

    Open the position property (P). Alt-click the stopwatch and paste the expression below. This pushes the layer backward in Z-space by 1 pixel for every layer index below it.

    Z-Depth Stacking
    value + [0, 0, index]
  • 3. Multiply for Thickness

    Duplicate this layer 10 to 15 times. Because of the expression, each duplicate automatically steps 1 pixel backward, creating solid 3D thickness out of 2D images.

  • 1. The Null Controller

    Add a Null Object and name it "Controller". Select all your duplicated phone layers, click the 3D toggle box, and parent them to the Null. Now, rotating the Null rotates the entire 3D block seamlessly.

  • 2. Adding the Screen

    Drop the Front PNG and Screen PNG into the comp. Scale them to 30% to match the back, precompose them together as "Front", make it 3D, and parent it to the Null. The phone is now complete.

  • 3. Cinematic Keyframes

    Animate the Null's Y-Rotation and Position. Make the phone rise from the bottom while spinning 360 degrees. Select the keyframes, hit F9 for Easy Ease, and adjust the graph editor for a snappy entrance.

CAMERA & ORIENTATION

Rigging the Phone

Once the depth is generated, we need to bind the pieces together so they move as a single rigid object. Using a Null Object acts as a master controller, keeping our individual layer transform properties clean.

Pro Tip: If the camera bump on your back PNG ends up on the wrong side when rotated, simply open the Back precomp, go to Transform, and apply Flip Horizontal. It will instantly correct the orientation in your main 3D scene.

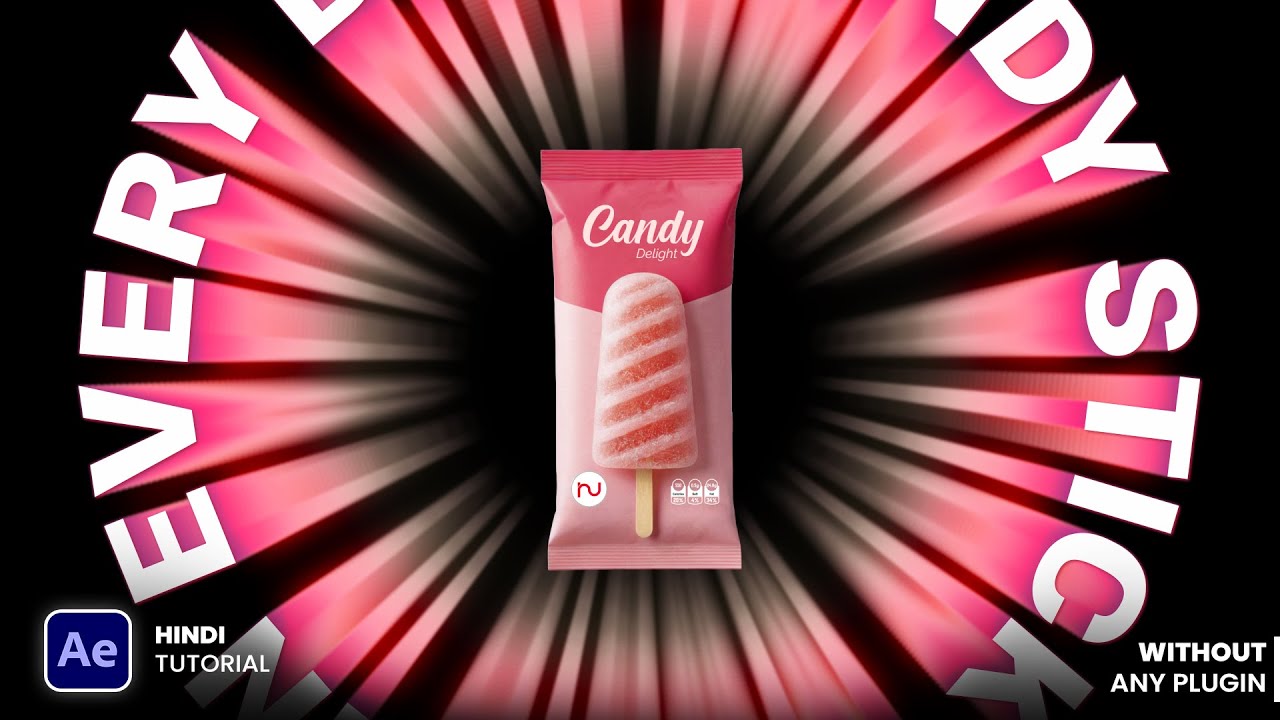
The Infinite RGB Glow Background

Create a stunning, infinitely looping neon background to complement the commercial.

The Base Shape

Create a perfect circle in the center of the comp. Set the Stroke to None and the Fill to Solid White. Use the Pan Behind tool (Ctrl + Double Click) to perfectly center the anchor point.

The Glow Stack

Apply the Glow effect. Drop the Threshold to 0, increase the Radius to 400, and Intensity to 2. Set Glow Colors to Arbitrary Map and increase the Loops to 7 to generate a dense, colorful ring.

⏱️

The Loop Expression

To make the colors shift infinitely without keyframes, Alt-click the Color Phase property inside the Glow effect and type time * 50. Add a Tint effect mapped to Purple for branding.

THE FINAL POLISH

Screen Replacement & Assets

The true power of this rig is its reusability. To add your own app UI or commercial footage to the phone, simply open the "Front" precomp. Place your branding video above the phone screen layer, and use the screen layer as an Alpha Matte. This perfectly clips your video into the bezels of the phone.

Because everything is linked via expressions and precomps, your new screen recording will instantly track and render in 3D in the main composition.

Master Commercial Animation

Subscribe for weekly breakdowns of broadcast-ready motion design workflows.

Subscribe Now

Discussion (0)

Leave a Reply

Verifying you are human...
Cloudflare security check in progress
Cloudflare

No comments yet. Be the first to start the discussion!